
Panoee is an innovative virtual tour software with intuitive tools to quickly create stunning 360 virtual tours featuring interactive hotspots, themes and customization. Using it to showcase properties, businesses, products or services in an engaging and captivating manner – whether using Panoee for this purpose is up to you – but when it comes time to host them yourself or download and share them on another server – Panoee’s Export feature comes into its own – in this blog post we will walk through how this can work step by step using Panoee!
What is Panoee’s virtual tour Export feature?

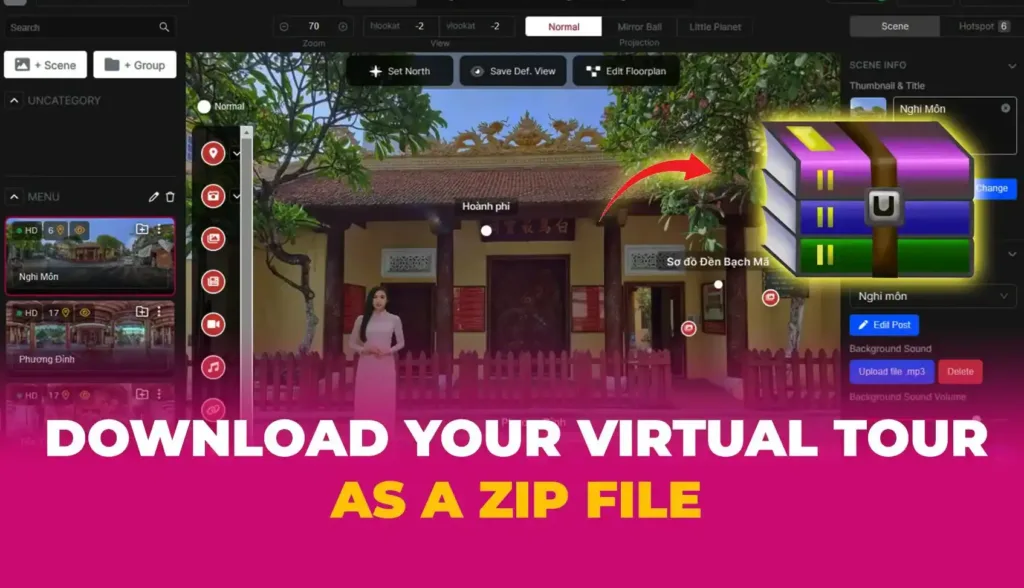
Panoee’s virtual tour Export feature is a premium offering that lets you download your virtual tour as a ZIP file containing all necessary files and folders needed to run it offline or online. Once you upload this file to your own server or website, embedding an iframe code allows complete control over its hosting and management.
There are two options for virtual tour export: Front-end Export and Full Export. Front-end Export is free; it will download your virtual tour as a ZIP file with the default settings and quality. However, this option will only include the front-end files for your virtual tour, such as HTML, CSS, JS and XML; therefore, your virtual tour will still rely on Panoee’s server to load images and resources.
While Full Export is an optional paid option that lets you download your virtual tour in a ZIP file with all its settings and quality settings, including images and resources, your virtual tour will run faster and smoother without Panoee’s server dependency – creating an ideal scenario.
The Export feature can offer numerous advantages unavailable through online hosting services; we will discuss them next.
Why do you need to Export a virtual tour?

Panoee offers many advantages when it comes to exporting virtual tours. Here are a few critical reasons why this may be worthwhile for you:
Save and Protect Your Virtual Tour
Exporting your virtual tour provides a safety net in case anything happens to your Panoee account or platform. Simply store the ZIP file on either your computer or cloud storage, so it can be accessed whenever needed.
Hosting your virtual tour on your own server
Exporting your virtual tour gives you the option of hosting it on your own server, which may increase its performance, security and branding while mitigating any downtime or issues associated with Panoee’s hosting service.
Provide your virtual tour to clients or partners
Exporting your virtual tour simplifies sharing it with clients and partners, eliminating the need for them to sign up or access Panoee or its platform. Send them either the ZIP file or URL for your hosted virtual tour, so they can access it on any device, browser or platform.
Expand or alter the virtual tour
Exporting your virtual tour allows you to edit or customize it further using other tools or software. You can modify HTML, CSS, JS or XML files of your virtual tour in order to alter its appearance, functionality or content; add features or integrations that aren’t available on Panoee – anything goes!
Enjoy greater flexibility and options for embedding your virtual tour
Exporting your virtual tour gives you more options and flexibility in embedding it on various web pages or platforms. Use the iframe code to embed it on any HTML-supporting webpage; width, height, and alignment settings can be modified accordingly to suit the web design of each webpage. Alternatively, plugins or methods may enable you to embed the tour on platforms such as WordPress, Shopify, Wix and Squarespace, among many others.
Panoee makes exporting virtual tours an efficient process that helps create and share 360 degree virtual tours easily and conveniently.
How to Export a virtual tour?
Step 1: Create a virtual tour

The first step is to create a virtual tour using Panoee’s Studio page. You can upload your own 360° images. You can then edit your panoramas, add hotspots, choose a theme, and customize your virtual tour as you like.
Here are some few tips to enhance your virtual tour stand out competitors:
Step 2: Double-check the virtual tour the last time

Step two is previewing your virtual tour and verifying all works as expected and looks good. Panoee offers its Preview mode to preview how your tour will appear across devices and browsers before exporting, plus sharing it with others and collecting feedback through Panoee’s Share feature. Another reason you must double-check the virtual tour is it can’t be edited when you export successfully.
Step 3: Access the Publish tab

Once completed, accessing the Publish Tab on the Studio page’s top right corner will enable you to export your tour.
Step 4: Choose the type of Export

The fourth step is selecting the type of Export that best meets your needs. There are two types: Front-end Export and Full Export.
Front-End Export is a free option that will download your virtual tour as a ZIP file with all its default settings and quality settings but only includes front-end files like HTML, CSS, JS and XML – meaning it still relies on Panoee’s server to load images and resources for loading your virtual tour.
Full Export is an optional paid feature that lets you download your virtual tour in a ZIP file with all its settings and quality options, including images and resources that make up its virtual tour. By taking this route, your virtual tour can become independent from Panoee’s servers, running faster and smoother overall.
Full Export has two sub-options for the Root domain and Sub-directory exporting.
The Root domain will let you host your virtual tour on your website, such as www.yourwebsite.com.
Subdirectory hosting allows you to host your virtual tour on an independent subdomain of your own website – for instance, www.yourwebsite.com/yourname
The full Export costs $10 per Export with unlimited bandwidth and storage capabilities.
Step 5: Export
Once complete, Panoee generates and downloads your ZIP file depending on its size and quality – this may take one to two business days, depending on its complexity.
Step 6: Download the Export file
The final step involves downloading your virtual tour ZIP file. You should find this in your Downloads folder or wherever your browser configures to save downloaded files.
Panoee makes exporting virtual tours a practical and straightforward solution, providing many advantages like backup, hosting, sharing, editing and embedding capabilities for virtual tours. You can export them as ZIP files containing both front-end or complete files of the tour, which you can then upload onto any server as a ZIP file to be embedded using an iframe code on any web page.
We hope this blog post was helpful and informative for you. If you have any questions or feedback, please contact us at brian@panoee.com.
If you haven’t tried our software yet, sign up for a free account today and start creating amazing 360° virtual tours in minutes!
Follow us:
Facebook: https://bit.ly/Panoee_Community
Twitter: https://bit.ly/tw_panoee360
Youtube: https://bit.ly/yt_panoee360
Telegram: https://t.me/panoee360
