Why This Camera & Lens Are Great for Panoramas
The Pentax K-1 II is a full-frame DSLR known for its strong image quality and rugged build. Its 36.4MP sensor (35.9 × 24mm, pixel pitch ~4.9 µm) delivers excellent detail with approximately 14+ stops of dynamic range at base ISO, while the in-body 5-axis stabilization (SR II) helps when shooting handheld or on poles. For panoramic work, the K-1 II’s robust tripod mount, precise manual controls, and stable mirror lock-up make it a reliable platform. The Sony FE 16–35mm f/2.8 GM is a high-grade rectilinear zoom with excellent sharpness from f/4–f/8, controlled chromatic aberration, and minimal coma—attributes that matter when stitching clean, high-resolution 360 photos or wide panoramas.
Important compatibility note: Sony FE lenses are designed for the Sony E mount, which has a much shorter flange distance than the Pentax K mount. There is no practical adapter that maintains infinity focus and aperture control for FE lenses on the K-1 II. For real-world shooting, you have two workable paths: 1) Use the FE 16–35mm on a Sony E-mount body; or 2) Use an equivalent K-mount ultra-wide (e.g., HD Pentax-D FA 15–30mm f/2.8, Irix 15mm, Laowa 12mm) on your K-1 II. In this guide, the techniques, shot counts, and settings are written for a full-frame body with a 16–35mm rectilinear lens; they translate directly whether you run the Sony lens on a Sony body or choose a comparable K-mount lens on your K-1 II. That ensures you can still follow every step to learn how to shoot panorama with Pentax K-1 II & Sony FE 16-35mm f/2.8 GM—just mind the mount reality and pick the workable pairing for the day.

Quick Setup Overview
- Camera: Pentax K-1 II — Full-Frame 36.4MP CMOS; DR ~14+ EV at ISO 100; usable ISO 100–1600 for quality pano work.
- Lens: Sony FE 16–35mm f/2.8 GM — rectilinear zoom; sharpest typically at f/5.6–f/8; well-controlled CA and distortion; 82mm filters.
- Estimated shots & overlap (full-frame, portrait orientation, ~30% overlap):
- 16mm: 3 rows (pitch +45°, 0°, −45°) × 8 around + 1–2 zenith + 1–2 nadir ≈ 28–32 frames.
- 24mm: 3–4 rows × 10–12 around + Z/N ≈ 40–52 frames.
- 35mm (gigapixel intent): 5–6 rows × 16–18 around + Z/N ≈ 90–120+ frames.
HDR bracketing multiplies the frame count (e.g., 3× brackets = 3× frames).
- Difficulty: Intermediate (multi-row capture, nodal alignment, and careful post-processing).
Note: Due to mount incompatibility, run the 16–35mm GM on Sony E or use a K-mount ultra-wide on the K-1 II. The technique and numbers remain valid.
Planning & On-Site Preparation
Evaluate Shooting Environment
Look for moving elements (people, traffic, trees in the wind), strong light sources (sun, lamps), reflections (glass, polished floors), and tight spaces that amplify parallax. If shooting through glass, stand as close as possible (1–3 cm) to reduce flare and double reflections; wear dark clothing and use your hand or a lens hood to flag stray light. For sunset exteriors, consider the sun’s path and plan for HDR brackets to protect highlights.
Match Gear to Scene Goals
For real estate and interiors, the K-1 II’s dynamic range and clean base ISO files help preserve window detail. Use a tripod and bracket ±2 EV to cover bright windows and dark corners. Outdoors, the 16–35mm range offers flexibility: 16–20mm reduces the number of frames needed; 28–35mm is perfect for gigapixel detail at the cost of more shots. In low light, the K-1 II is comfortable at ISO 100–800 on a tripod; 1600 is workable with careful denoise. If you must go handheld, lean on the K-1 II’s IBIS for static panoramas—but switch IBIS off when on a tripod to avoid micro-blur in long exposures.
Pre-shoot Checklist
- Battery charged; spare cards; clean front element and sensor.
- Tripod leveled; panoramic head calibrated to the lens’s no-parallax point.
- Mount safety: check wind, rooftop rails, pole guy-lines, and car mounts; use tethers and safety cables.
- Backup workflow: capture a second full rotation at key rows in case a frame is soft or blocked by people.

Essential Gear & Setup
Core Gear
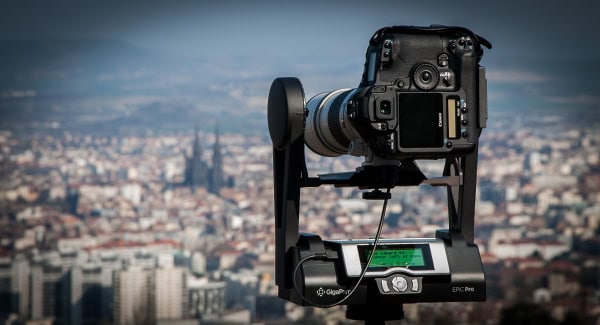
- Panoramic head: Lets you rotate around the lens’s entrance pupil (nodal point) to avoid parallax. Set fore–aft and vertical offsets so foreground and background align perfectly across frames.
- Stable tripod with a leveling base: Leveling makes multi-row grids consistent, keeps your horizon true, and shortens stitching time.
- Remote trigger or app: Fire without touching the camera; on the K-1 II, you can use a cable release or the app to minimize vibrations.
Optional Add-ons
- Pole or car mount: Use safety lines; watch wind loads. Keep shutter speeds high (1/200–1/500) and avoid IBIS on a tripod; consider IBIS off for poles too, as sensor shifts can complicate stitching.
- Lighting aids: Constant lights for interiors, small reflectors, or window diffusion to tame contrast.
- Weather protection: Rain covers for light drizzle, microfiber cloths for sea spray, and desiccant packs for humid nights.

Want a deeper walkthrough on nodal setup and shooting technique? See this concise panoramic head tutorial for step-by-step visuals at the end of this section. For an enterprise-grade guide to setting up a panoramic head for high-end 360 photos, the Oculus Creator documentation is also excellent. Panoramic head tutorial and Set up a panoramic head (Oculus Creator).
Step-by-Step Shooting Guide
Standard Static Scenes
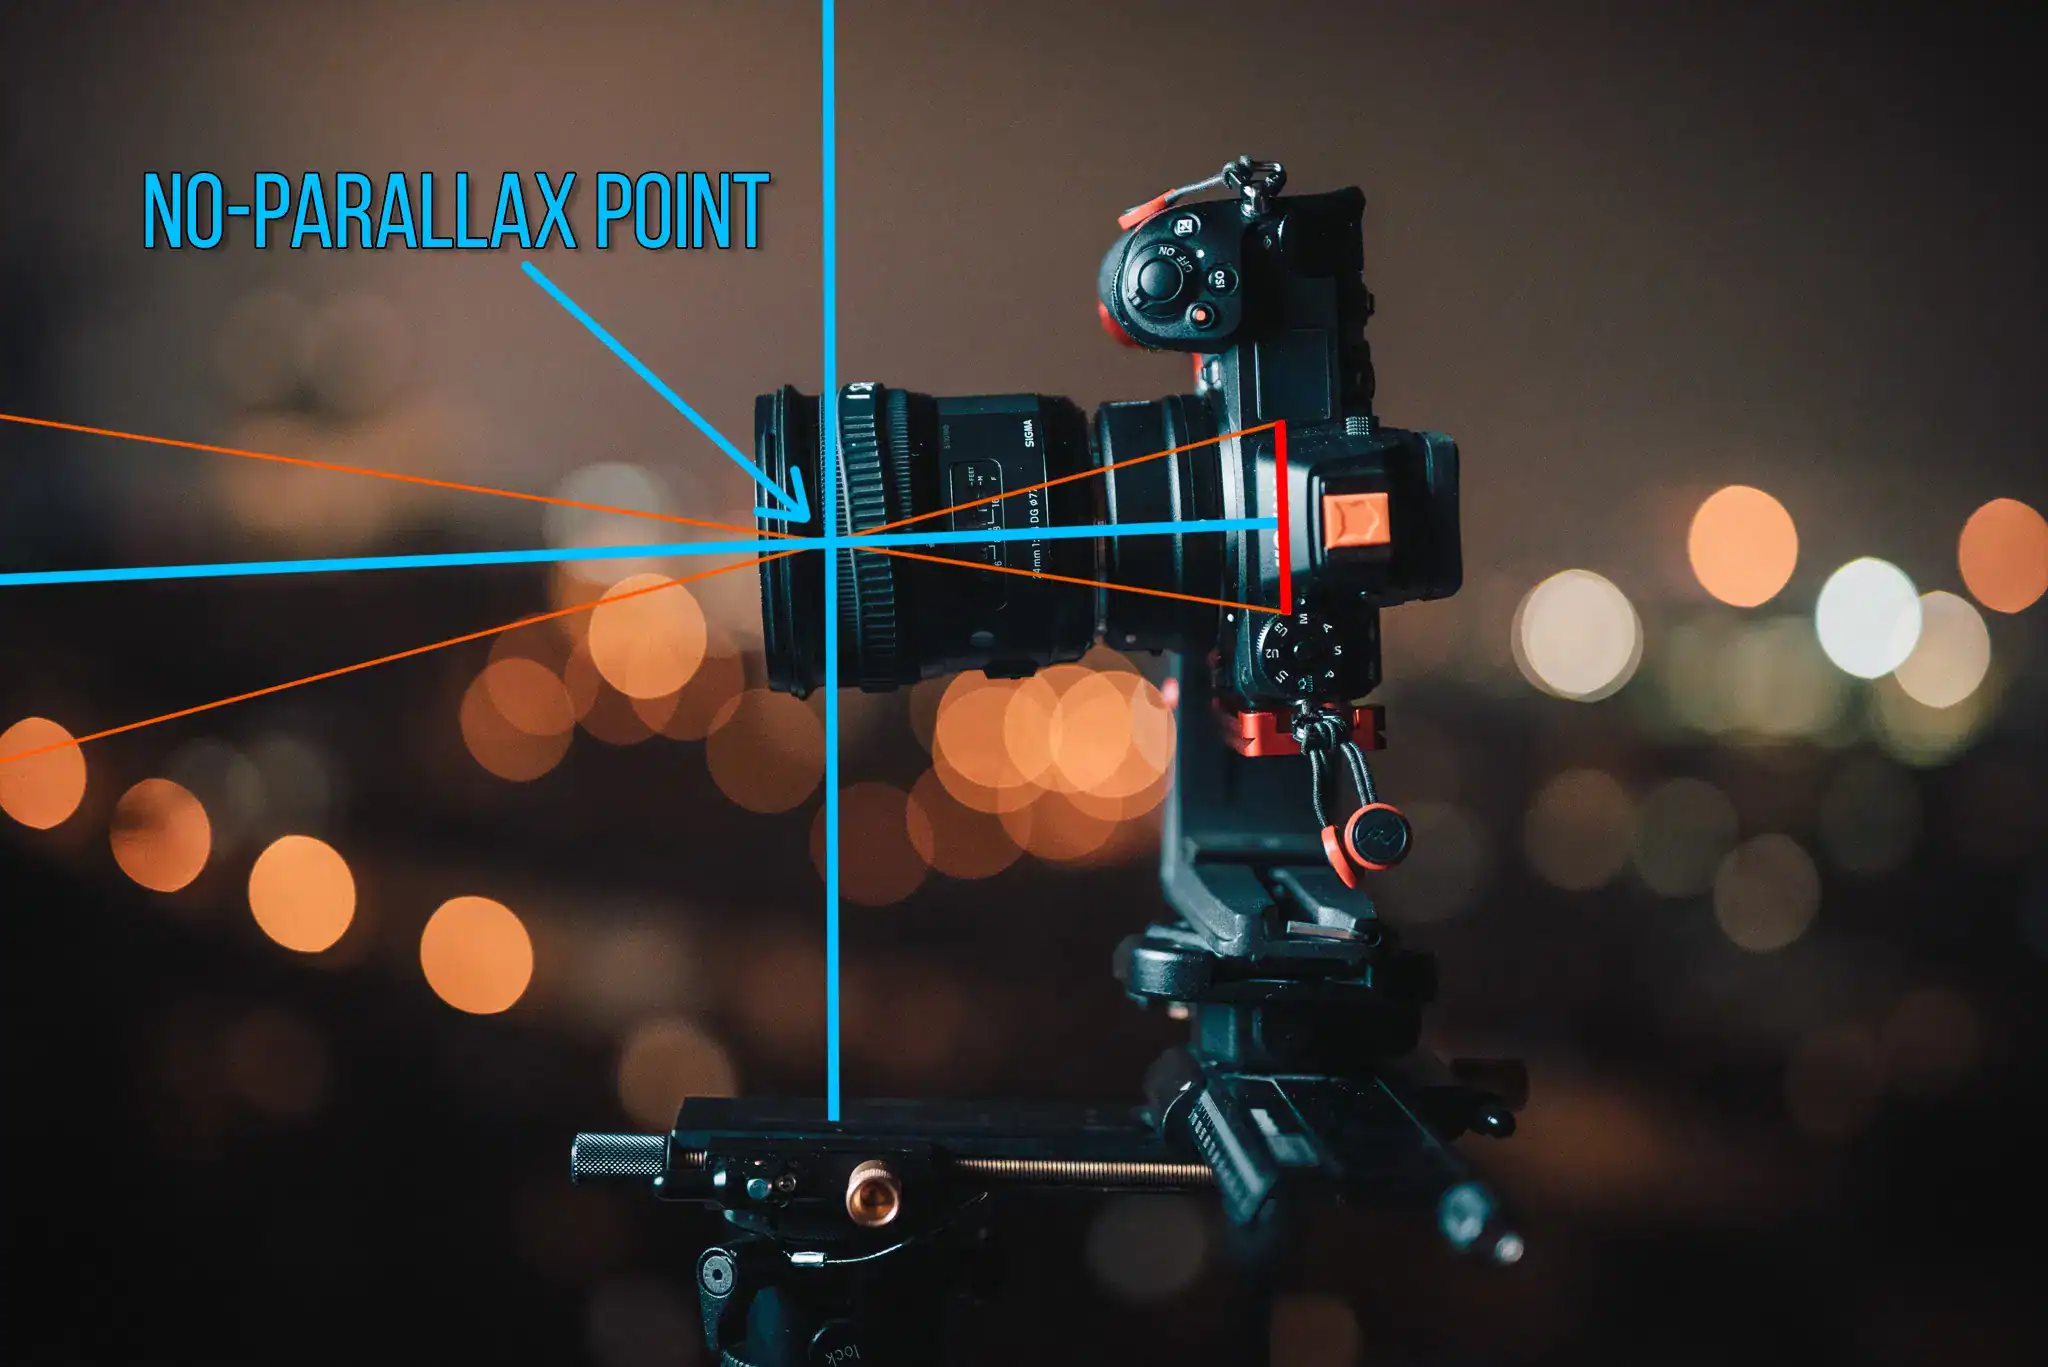
- Level and align: Level your tripod, then set the panoramic head so the lens rotates around its entrance pupil. Use two objects (near and far) and rotate left/right; adjust the rail until their relative position doesn’t shift.
- Lock exposure and WB: Meter the brightest frame you want to keep detail in (e.g., sky a bit below clipping). Set Manual mode. Choose a fixed white balance (Daylight, Tungsten, or a Kelvin value) to avoid color shifts across frames.
- Focus and aperture: Switch to manual focus. For 16–24mm on full-frame, set focus near the hyperfocal distance at f/8. On the K-1 II, AF first if needed, then switch MF and tape the ring.
- Capture sequence: Shoot by rows. For example at 16mm, capture +45° row (8 around), then 0° row (8 around), then −45° row (8 around), followed by zenith (1–2 shots) and nadir (1–2 shots). Maintain 25–30% overlap.
- Nadir coverage: After the main grid, tilt down and shoot the ground plate(s) to patch out the tripod later.
HDR / High Dynamic Range Interiors
- Bracket ±2 EV (3 or 5 frames): This balances window highlights with interior shadows. For ultra-contrast scenes, ±3 EV can help, but keep file counts manageable.
- Keep WB locked and the aperture fixed: Let shutter speed vary across brackets; this preserves depth of field and consistency.
- Shoot quiet frames: Use mirror-up mode or live view with electronic front curtain (if available) to minimize vibration. Use 2-sec timer if you lack a remote.
Low-Light / Night Scenes
- Tripod and remote: Night panoramas need long exposures. Turn off IBIS on the tripod. Typical starting point: f/4–f/5.6, ISO 200–800, 1–10s depending on light.
- Reduce flare: Shade the lens from streetlights or the moon with your hand or a flag. At 16mm, a tiny flare can span frames and complicate stitching.
- Noise control: On the K-1 II, ISO 800–1600 is workable; expose to the right without clipping highlights to maximize SNR.
Crowded Events
- Two-pass strategy: First, shoot the full sequence for coverage. Second, reshoot any frames when crowds thin momentarily. In PTGui/Hugin, mask to keep the clean areas.
- Faster shutter: Aim for 1/200–1/500 when people move quickly. Slightly higher ISO (400–800) is better than motion blur you cannot fix.
Special Setups (Pole / Car / Drone)
- Pole safety: Use a guy-line and a wrist leash. Wind forces rise fast; keep exposures short and the number of frames minimal. Avoid IBIS-induced geometry shifts—typically off is safer for stitching.
- Car-mounted: Tighten all clamps, use vibration-damping pads, and shoot at faster shutter speeds (1/250–1/500). Plan your rotation where traffic won’t introduce dangerous distractions.
Recommended Settings & Pro Tips
Exposure & Focus
| Scenario | Aperture | Shutter | ISO | Notes |
|---|---|---|---|---|
| Daylight outdoor | f/8–f/11 | 1/100–1/250 | 100–200 | Lock WB (Daylight or 5200K); avoid IBIS on tripod |
| Low light / night | f/4–f/5.6 | 1/30–8s | 200–800 (up to 1600 if needed) | Mirror-up or remote; shield stray light to limit flare |
| Interior HDR | f/8 | Bracket ±2 EV | 100–400 | Balance windows and lamps; maintain consistent WB |
| Action / crowds | f/5.6–f/8 | 1/200+ | 400–800 | Freeze motion; plan two-pass capture for masking |
Critical Tips
- Manual focus at hyperfocal: At 16–20mm and f/8, set focus a few meters out to keep everything sharp. Tape the ring to avoid drift.
- Nodal point calibration: Place a light stand a meter away and a building edge far behind. Rotate the camera. If the near object shifts against the far edge, adjust the fore–aft rail until the shift disappears. Mark the rail for 16mm, 24mm, and 35mm for repeatability.
- White balance lock: Mixed lighting can flip colors between frames; a fixed Kelvin or single preset keeps your panorama consistent.
- RAW over JPEG: RAW maximizes dynamic range and color latitude. Use 14-bit RAW to keep highlights and shadow detail intact.
- IBIS usage: Turn off IBIS (SR) on the tripod. Sensor micro-corrections can blur long exposures or introduce subtle frame-to-frame geometry shifts.
Stitching & Post-Processing
Software Workflow
Import and cull in Lightroom, Capture One, or PhotoLab; then stitch in PTGui or Hugin. Rectilinear zooms (like a 16–35mm) need more shots than a fisheye but avoid extreme distortion at the edges. As a rule of thumb, aim for 25–30% overlap with fisheye lenses and 20–30% with rectilinear lenses; with multi-row grids, stay consistent per row. PTGui’s lens calibration and masking tools are superb for multi-row HDR panoramas, while Hugin provides a powerful open-source alternative. For an overview of PTGui’s strengths in pro workflows, see this in-depth review. PTGui review and why it excels at complex panoramas.

Cleanup & Enhancement
- Nadir/tripod patch: Capture a dedicated nadir frame and patch with a logo plate or clone tools. Many editors also offer AI-based ground fill for speed.
- HDR blending: If you bracketed, let the stitcher merge per viewpoint; then fine-tune tone-mapping globally for a natural look.
- Color and noise: Sync white balance and color profiles across the set; denoise only as needed to preserve detail, especially in night panoramas.
- Level and reproject: Straighten horizon, fix roll/yaw/pitch, then output an equirectangular 2:1 pano (e.g., 16000 × 8000 px) for VR viewers.
- Final export: Create a high-quality JPEG (80–90%) for web and a 16-bit TIFF for archival or print.
For more foundational concepts about focal lengths and panorama building, B&H’s primer is a solid refresher before you dive deep. Understanding panoramas, focal lengths, and workflows.
Note: Software evolves—verify current features in each app’s documentation before critical jobs.
Useful Tools & Resources
Software
- PTGui panorama stitching
- Hugin open source
- Lightroom / Photoshop for culling and retouching
- AI tripod/nadir removal tools (various)
Hardware
- Panoramic heads: Nodal Ninja, Leofoto, Fanotec
- Carbon fiber tripods with a leveling base
- Remote shutter releases (wired or wireless)
- Pole extensions and car suction mounts with safety tethers
Disclaimer: Product names are for search convenience—check official pages for current specs and compatibility.
Common Mistakes & How to Avoid Them
- Parallax error: Not aligned to the nodal point. Calibrate and mark your rail positions.
- Exposure flicker: Auto exposure or WB between frames. Use Manual and fixed WB.
- Tripod shadows and nadir gaps: Shoot a dedicated nadir frame and patch later.
- Ghosting from movement: Plan a second pass and use masks in the stitcher.
- Night noise and blur: Prefer low ISO and longer exposures on a solid tripod with remote triggering.
- IBIS left on: Turn off stabilization on a tripod to avoid micro-motion blur.

If you’re new to DSLR/ML pano capture for virtual tours, this comprehensive FAQ is a helpful complement to everything above. Using a DSLR or mirrorless camera to shoot and stitch a 360 photo.
Frequently Asked Questions
- Can I shoot handheld panoramas with the Pentax K-1 II?
Yes, for single-row or quick partial panoramas. Use IBIS, a fast shutter (1/200+), and generous overlap (~40%). For full 360×180 spheres, a tripod and panoramic head are strongly recommended to avoid parallax and stitching issues.
- Is the Sony FE 16–35mm f/2.8 GM wide enough for a single-row 360?
No. At 16mm rectilinear, the vertical FOV isn’t sufficient to cover zenith and nadir in a single row. Plan a multi-row capture (e.g., +45°, 0°, −45°) plus dedicated zenith/nadir frames.
- Do I need HDR for interiors with bright windows?
Usually, yes. Bracket ±2 EV (3–5 frames) to retain window highlights without losing interior detail. Keep aperture and WB fixed; vary shutter speed only.
- How do I avoid parallax issues with this setup?
Use a panoramic head and calibrate the entrance pupil (no-parallax point) for your chosen focal length. Mark the rail positions for 16mm, 24mm, and 35mm so you can set up quickly on location.
- What ISO range is safe on the K-1 II for low-light panoramas?
On a tripod, ISO 100–400 is ideal; ISO 800–1600 remains very usable with careful exposure and modern denoise. If handheld, don’t be afraid to push to 1600 to keep shutter speeds high enough to prevent blur.
Real-World Field Notes (Case Studies)
Indoor Real Estate (Windows + Warm Lamps)
Set f/8, ISO 100–200, and bracket ±2 EV. Turn off ceiling fans and wait for curtains or plants to stop moving to avoid ghosting. Use a gray card for a custom WB to keep paint colors accurate. Capture nadir after the main set and patch with a branded floor disc in post.
Outdoor Sunset Overlook
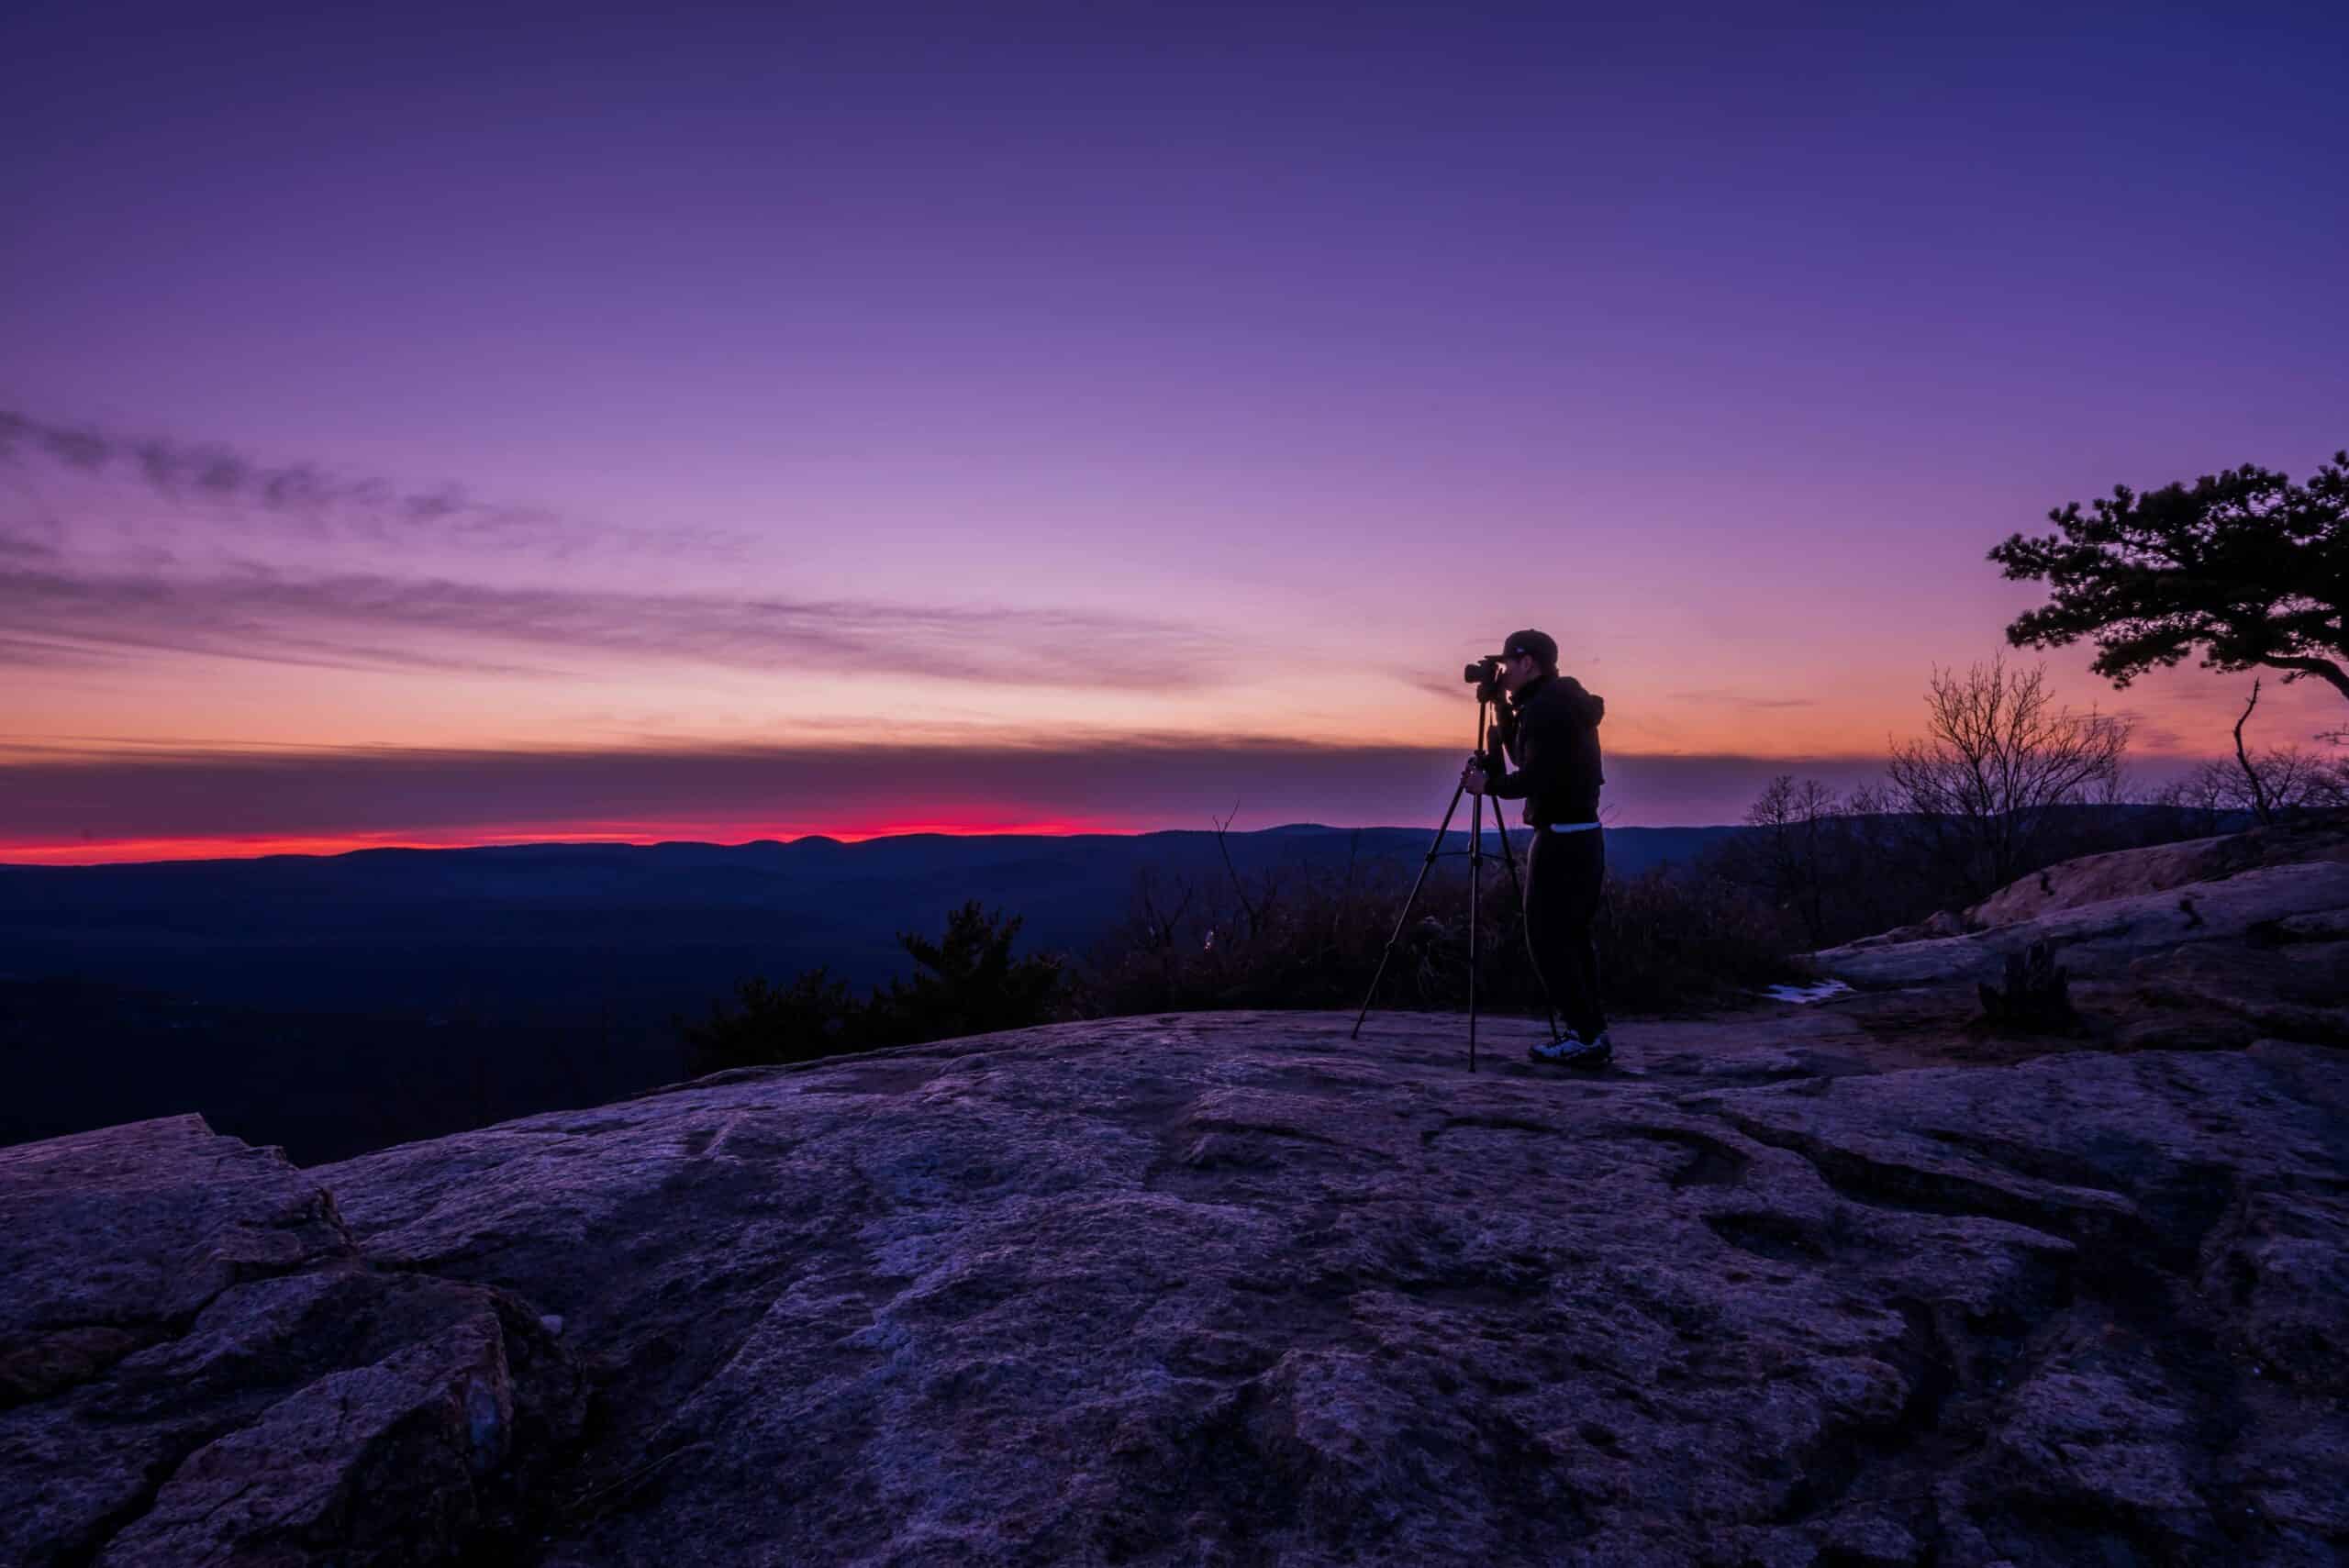
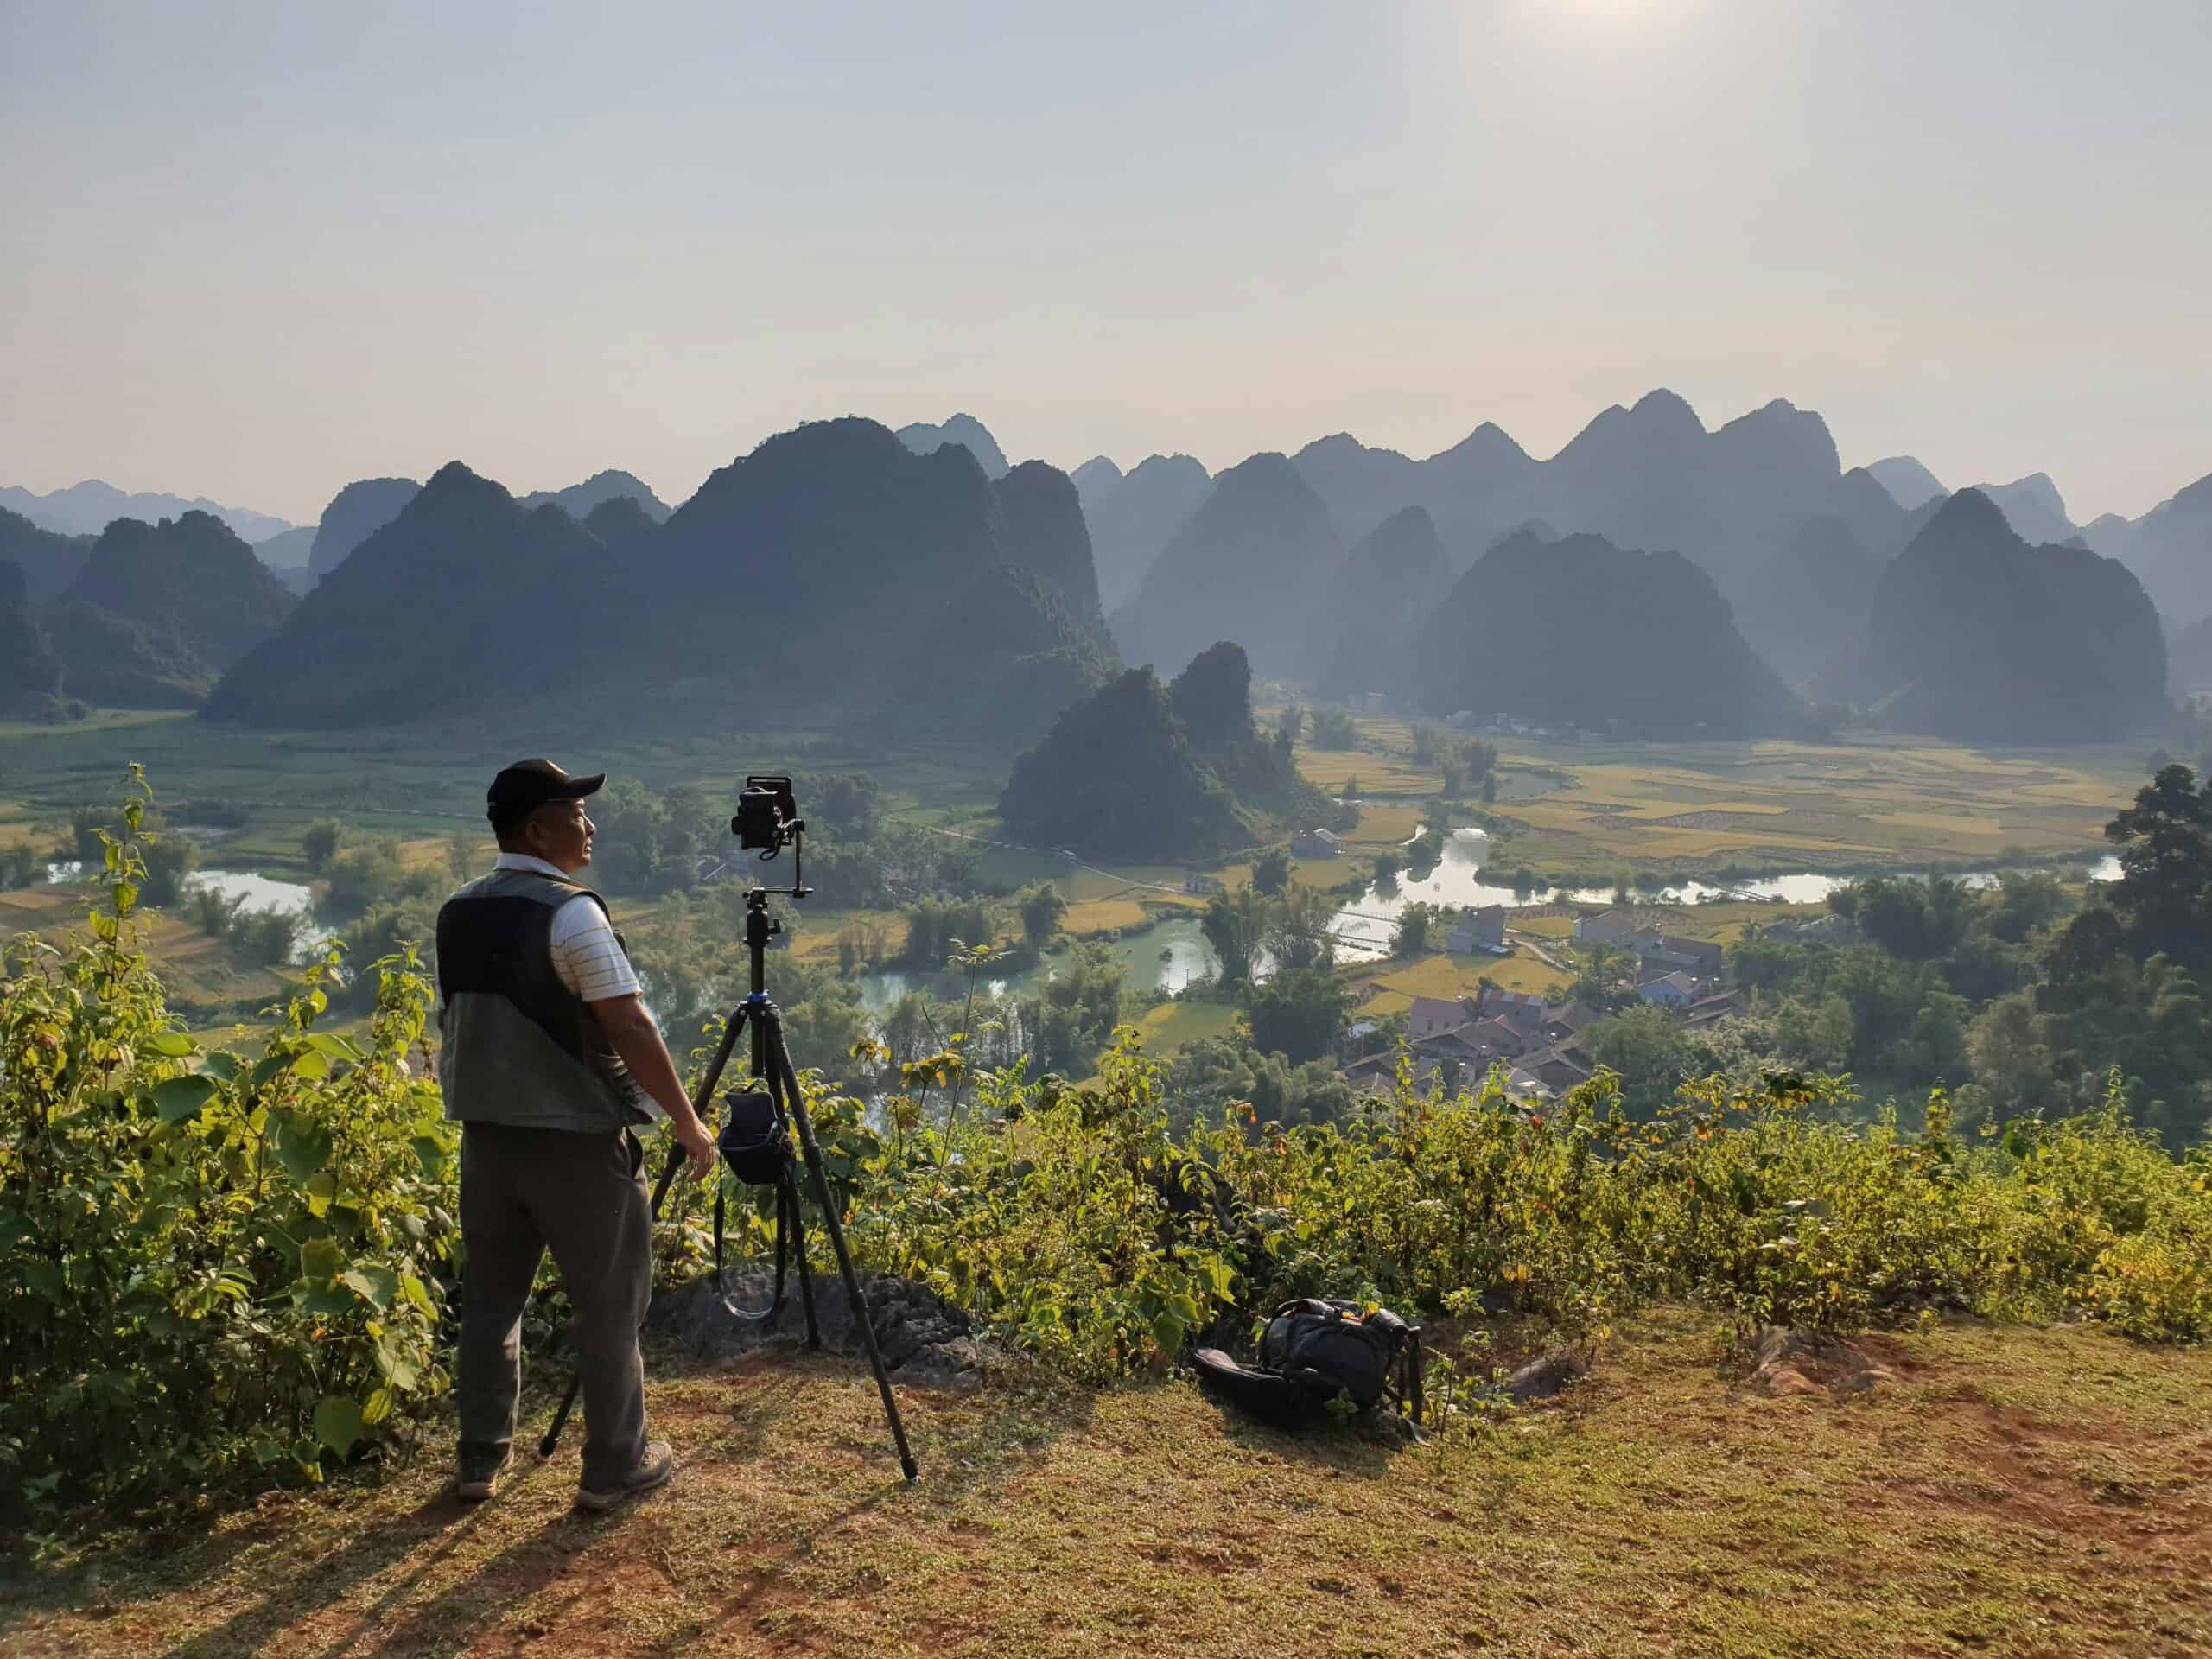
Use 16–20mm to minimize the number of frames before light changes. Bracket if the sun is in-frame, and flag the lens to control flare. Work quickly: shoot the sun-side frames first to protect highlights, then complete the opposite side as the sky darkens.
Event Crowd at Street Level
Shoot one fast pass at 1/250 and ISO 400–800 to freeze motion, then wait for gaps and reshoot problematic sectors. In PTGui/Hugin, use masks to keep the clean frames, minimizing ghosting and duplicates.
Rooftop or Pole
Safety comes first: tether gear, check wind, and never extend a pole near power lines. Keep the set small—use 16mm and higher shutter speeds. Take at least one safety rotation in case a gust spoils a row.

Important Compatibility & Workarounds
The Sony FE 16–35mm f/2.8 GM is not natively compatible with the Pentax K-1 II due to flange distance and electronic aperture control. Practical options:
- Use the FE 16–35mm on a Sony E-mount body for this job; all pano techniques herein apply directly.
- For the K-1 II, choose a comparable K-mount wide: HD Pentax-D FA 15–30mm f/2.8, Irix 15mm, Samyang 14mm, or Laowa 12mm.
In all cases, the shot counts, overlap guidance, and stitching workflow are the same for a rectilinear full-frame ultra-wide zoom.
Standards & Further Reading
Beyond the practical steps above, industry references help solidify best practices and problem solving: