Why This Camera & Lens Are Great for Panoramas
The Canon EOS RP is a lightweight full-frame mirrorless camera with a 26.2 MP sensor (6240×4160), Dual Pixel AF for quick pre-focus, and a body weight that keeps your panoramic rig manageable on a tripod or pole. Its pixel pitch is about 5.76 µm, which delivers solid per-pixel dynamic range at base ISO and workable noise performance through ISO 800–1600 when exposure is nailed. Though the RP lacks in‑body stabilization (IBIS), for tripod-based panoramas that’s actually a non-issue—and sometimes a plus because you avoid stabilization drift during long exposures.
The Nikon Z 14–24mm f/2.8 S is one of the sharpest ultra-wide rectilinear zooms on the market, with excellent corner sharpness from f/4–f/8, low coma, and well-controlled lateral chromatic aberrations. At 14mm it covers a huge diagonal field of view (about 114°), letting you reduce the number of shots needed for a full spherical panorama compared with longer focal lengths. Being rectilinear, it preserves straight lines—great for architecture and real estate—at the cost of taking more frames than a fisheye solution.
Important compatibility note: Nikon Z-mount lenses cannot be mounted on the Canon RF mount (EOS RP) with currently available adapters while maintaining infinity focus and electronic control. If you own the Nikon Z 14–24mm f/2.8 S, use it on a Nikon Z body for panoramas. On the EOS RP, choose an equivalent RF/EF ultra-wide such as the Canon RF 14–35mm f/4L IS, RF 15–30mm, or EF 16–35mm (via EF–RF adapter). All techniques in this guide apply directly to those equivalents. The shooting math, overlap, and nodal alignment procedures are the same across rectilinear 14–24mm lenses.

Quick Setup Overview
- Camera: Canon EOS RP — Full-frame 35mm sensor, 26.2 MP, pixel pitch ≈5.76 µm, base ISO 100, no IBIS.
- Lens: Nikon Z 14–24mm f/2.8 S (rectilinear) — extremely sharp at f/4–f/8, minimal CA, no optical stabilization. If using EOS RP, substitute a comparable RF/EF rectilinear ultra-wide.
- Estimated shots & overlap (portrait orientation, rectilinear):
- 14mm: ~8 shots around (0°) + 6–8 shots at +45° + 6–8 shots at −45° + zenith + nadir. Total ≈ 22–26 frames with 30–35% overlap.
- 18mm: ~10 around + two additional rows (±45°) + zenith + nadir. Total ≈ 26–32 frames.
- 24mm: ~12 around × 3 rows + zenith + nadir. Total ≈ 38–44 frames.
- Difficulty: Intermediate (precise nodal alignment and consistent exposure required).
Planning & On-Site Preparation
Evaluate Shooting Environment
Scan the scene for moving objects (people, traffic, foliage in wind), strong backlights (sun, bright windows), reflective surfaces (glass, polished floors), and tight spaces. If shooting through glass, press a rubber lens hood or cloth against it and keep the front element 1–3 cm from the pane to reduce flare and double reflections. Watch for tripod shadows at low sun angles.
Match Gear to Scene Goals
For interiors and architecture, the EOS RP’s base ISO dynamic range is respectable when exposed to the right. Keep to ISO 100–200 whenever possible; 400–800 is safe with good exposure and noise reduction. Rectilinear 14–24mm coverage is ideal when you want straight lines (real estate, commercial spaces). Compared to fisheye, you’ll take more frames but get more natural-looking results without heavy defishing. Outdoors at sunset, consider bracketing for HDR to hold sky color and deep shadows; the RP’s 14-bit RAW helps, but bracketing keeps noise down.
Pre-shoot Checklist
- Charge batteries, clear fast UHS-II cards, clean the front element and sensor.
- Level the tripod, verify your panoramic head’s nodal (no-parallax) calibration for your chosen focal length.
- Safety: assess wind if on rooftops or using a pole; tether your rig; never overreach on edges.
- Backup workflow: shoot a second pass if time allows, or at least re-shoot the most complex sector (windows, high-detail textures) as safety.
Essential Gear & Setup
Core Gear
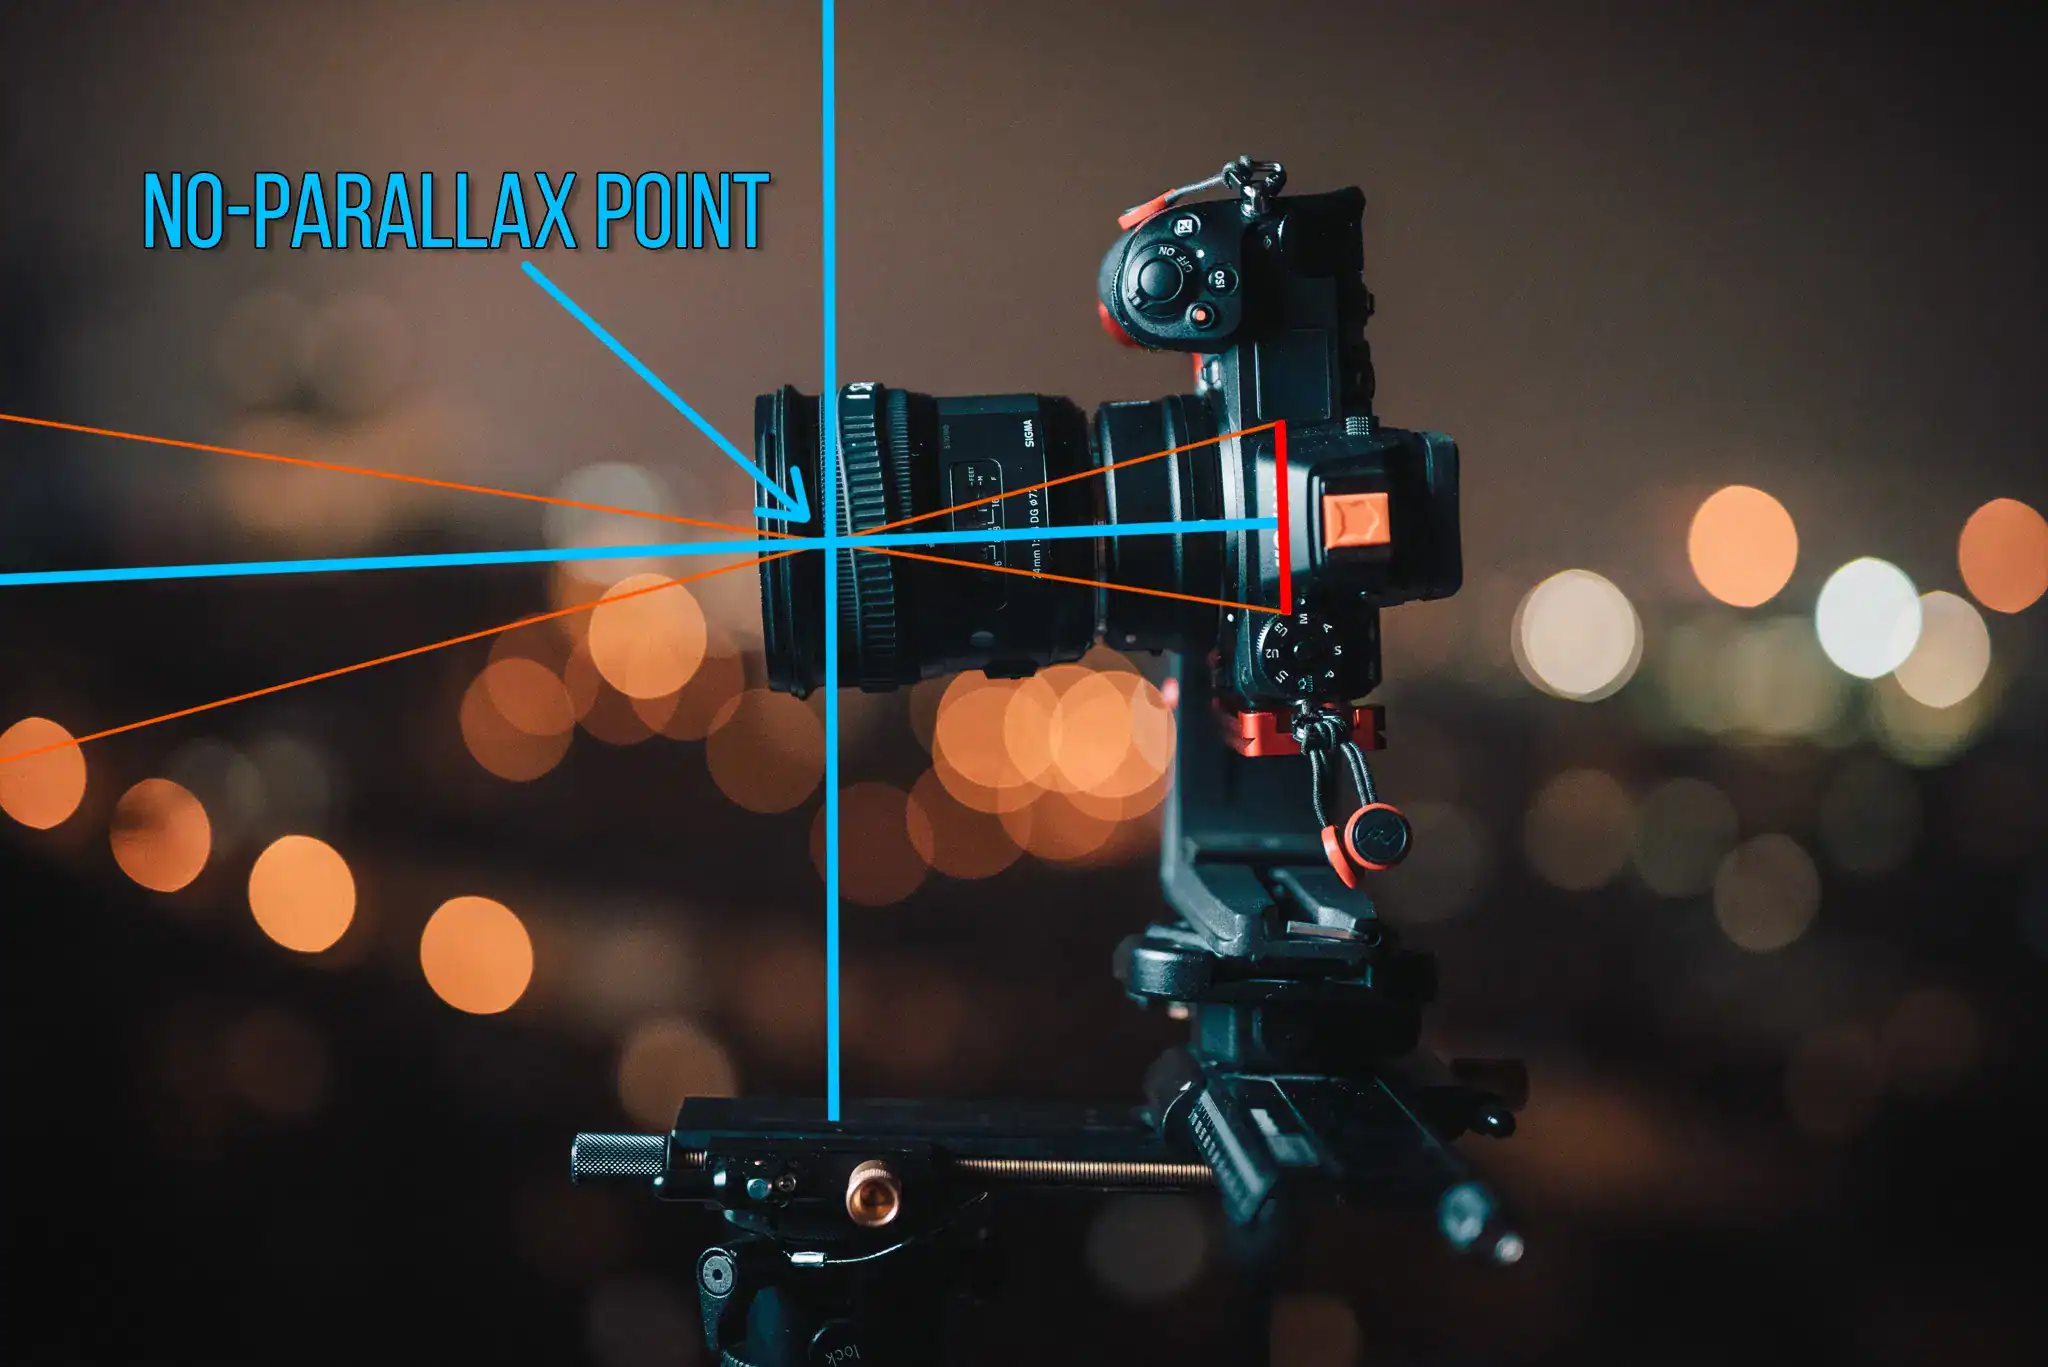
- Panoramic head with fore-aft and lateral adjustments to align the entrance pupil (nodal point). This eliminates parallax when rotating the camera, critical for clean stitches in tight interiors and near objects.
- Stable tripod with a leveling base so your rotator is perfectly level. A bubble level or digital level speeds setup and keeps the horizon straight.
- Remote trigger or the Canon Camera Connect app for vibration-free exposures and consistent timing during brackets.

Optional Add-ons
- Pole or car mount — always tether gear, mind wind load, and test vibration damping. Rotate slower and use higher shutter speeds to mitigate motion blur.
- LED panels or bounced flash for dim interiors. Keep lighting consistent across frames.
- Weather protection: rain cover, microfiber towels, and gaffer tape to secure cables.
Step-by-Step Shooting Guide
Standard Static Scenes
- Level the tripod and calibrate the nodal point. Place two vertical objects (one near, one far) overlapping; rotate the rig. Adjust the rail until their relative position doesn’t shift. For most 14–24mm rectilinears, the no-parallax point sits roughly 6–8 cm in front of the mount at 14mm and shifts slightly toward the front at 24mm. Mark your rail for 14, 18, and 24mm for quick recalls.
- Switch to Manual Mode. Set a fixed exposure and lock white balance (Daylight/Tungsten/Custom) to keep frames consistent. Shoot RAW for maximum latitude.
- Use portrait orientation. At 14mm, capture:
- Row 1 (0° pitch): ~8 shots around with 30–35% overlap.
- Row 2 (+45°): 6–8 shots, staggered between Row 1 frames.
- Row 3 (−45°): 6–8 shots, staggered again.
- Zenith: 1–3 frames upward to close the top.
- Nadir: 1–3 frames down; consider a tripod-shift or hand-held nadir for clean floor replacement.
- Take a dedicated nadir shot. If your head has a nadir adapter, swing the tripod out of the way; otherwise, shoot a hand-held nadir from the same nodal point height and orientation for easier patching.
HDR / High Dynamic Range Interiors
- Use exposure bracketing, typically ±2 EV (3–5 frames per angle). For bright windows, 5 frames (−4/−2/0/+2/+4 EV) can eliminate clipping and reduce noise when merged.
- Keep WB locked. Changing WB across brackets causes stitching seams and color flicker, especially under mixed lighting.
- Use the 2-second timer or remote. Let the rig settle before each bracket sequence.
Low-Light / Night Scenes
- Shoot at f/4–f/5.6 when possible; stop down to f/8 only if you need extra depth on foregrounds. Since the EOS RP has no IBIS and the Nikon 14–24 S has no VR, rely on a rigid tripod and keep ISO at 100–400 for best results; 800 is acceptable with careful noise reduction.
- Use EFCS (electronic first curtain) to reduce shutter shock. Trigger via remote/app; avoid touching the camera.
- Long exposures increase the chance of moving elements (cars, clouds). Take an extra clean frame of the most important sector for later masking.
Crowded Events
- Shoot two passes: one fast for alignment, one slower as gaps open in the crowd. At 1/200–1/250 s you’ll freeze people better.
- Mask moving subjects in PTGui or Photoshop by using the clean pixels from the second pass.
Special Setups (Pole / Car / Drone)
- Secure everything with a safety tether. On poles, keep the rig’s center of gravity close to the shaft and rotate slowly.
- Use faster shutter speeds (1/250–1/500) to reduce vibration blur. For vehicle mounts, plan your pan at stops, not in motion.

Recommended Settings & Pro Tips
Exposure & Focus
| Scenario | Aperture | Shutter | ISO | Notes |
|---|---|---|---|---|
| Daylight outdoor | f/8–f/11 | 1/100–1/250 | 100–200 | Lock WB (Daylight). Expose to protect highlights. |
| Low light/night | f/4–f/5.6 | 1/30–1/60 | 400–800 | Tripod and remote trigger; consider extra safety frames. |
| Interior HDR | f/8 | Bracket ±2 EV | 100–400 | Hold bright windows without noise buildup. |
| Action / moving subjects | f/5.6–f/8 | 1/200+ | 400–800 | Freeze motion; plan two-pass capture. |
Critical Tips
- Manual focus: Pre-focus at roughly the hyperfocal distance. At 14mm and f/8 on full-frame, focusing ~1–1.5 m keeps most of the scene sharp. Then switch AF off to lock focus.
- Nodal calibration: Mark your rail for 14, 18, and 24mm. Expect the entrance pupil to move slightly with focal length; confirm with a near/far object test.
- White balance lock: Mixed lighting interiors often require a custom WB. Consistency beats perfection—small color tweaks are easy in post if all frames match.
- RAW over JPEG: You’ll recover more highlights, blend HDR cleanly, and apply better noise reduction.
- Stabilization: The EOS RP has no IBIS; if your lens has IS, switch it off on a tripod to avoid micro-drift during long exposures.
Stitching & Post-Processing
Software Workflow
For professional control, PTGui is the benchmark for spherical 360° stitching; Hugin is a capable open-source alternative. Import all frames (or HDR-merged frames), set lens type to rectilinear, focal length to your capture focal, and enable lens shift if applicable. Typical overlap recommendations: 30–35% for rectilinear ultra-wides, 25–30% minimum. Verify control points across rows, run optimization, and check the panorama editor for horizon leveling before rendering. See an in-depth review of PTGui’s strengths for complex panos at the end of this section. PTGui review: why it excels for complex panoramas

Cleanup & Enhancement
- Nadir patch: Export a layered PSD from PTGui, then patch the tripod using a separate nadir shot or a logo plate. AI-based removal tools can speed this up.
- Color and noise: Apply global color correction first, then selective HSL and denoise. For the EOS RP, moderate luminance NR at ISO 800–1600 keeps detail intact.
- Leveling: Use pitch/yaw/roll corrections so horizons are straight and verticals stay vertical in architectural scenes.
- Export: For VR players, export equirectangular 2:1 at 8000–12000 px width (e.g., 10000×5000). Save a 16-bit TIFF master and a high-quality JPEG deliverable.
For deeper fundamentals on setting up a panoramic head and capturing for VR, the Oculus Creator documentation is an excellent primer. Set up a panoramic head for high-end 360 photos
Useful Tools & Resources
Software
- PTGui panorama stitching
- Hugin open source
- Lightroom / Photoshop
- AI tripod/nadir removal tools
Hardware
- Panoramic heads: Nodal Ninja, Leofoto, Sunwayfoto
- Carbon fiber tripods with leveling bases
- Wireless remote shutters or app control
- Pole extensions and vehicle mounts (with safety tether)
For a practical walkthrough of choosing pano heads and alignment theory, this panoramic head tutorial is a solid reference. Panoramic head setup and alignment guide
Disclaimer: software/hardware names are provided for search reference; check official sites for features and updates.
Common Mistakes & How to Avoid Them
- Parallax errors — Always align the entrance pupil and lock your rails before shooting.
- Exposure flicker — Manual exposure and locked white balance across all frames.
- Tripod shadows and footprints — Plan a nadir shot and patch cleanly in post.
- Ghosting from moving subjects — Shoot two passes and mask the clean elements.
- High ISO noise — Favor base ISO with HDR instead of pushing ISO in dim scenes.
- Insufficient overlap — Aim for 30–35% overlap, especially across rows and near the zenith/nadir.
Real-World Scenarios With This Setup
Indoor Real Estate
At 14–18mm, use three rows plus zenith/nadir. Set f/8 for maximum corner-to-corner sharpness, ISO 100, and bracket ±2 EV. Keep WB on a custom preset to avoid color seams between daylight windows and tungsten lamps. Mark the entrance pupil so furniture near the camera doesn’t cause stitching gaps. The EOS RP’s 26 MP files comfortably deliver 8000–10000 px wide equirectangular outputs suitable for MLS and virtual tour platforms.
Outdoor Sunset Cityscape
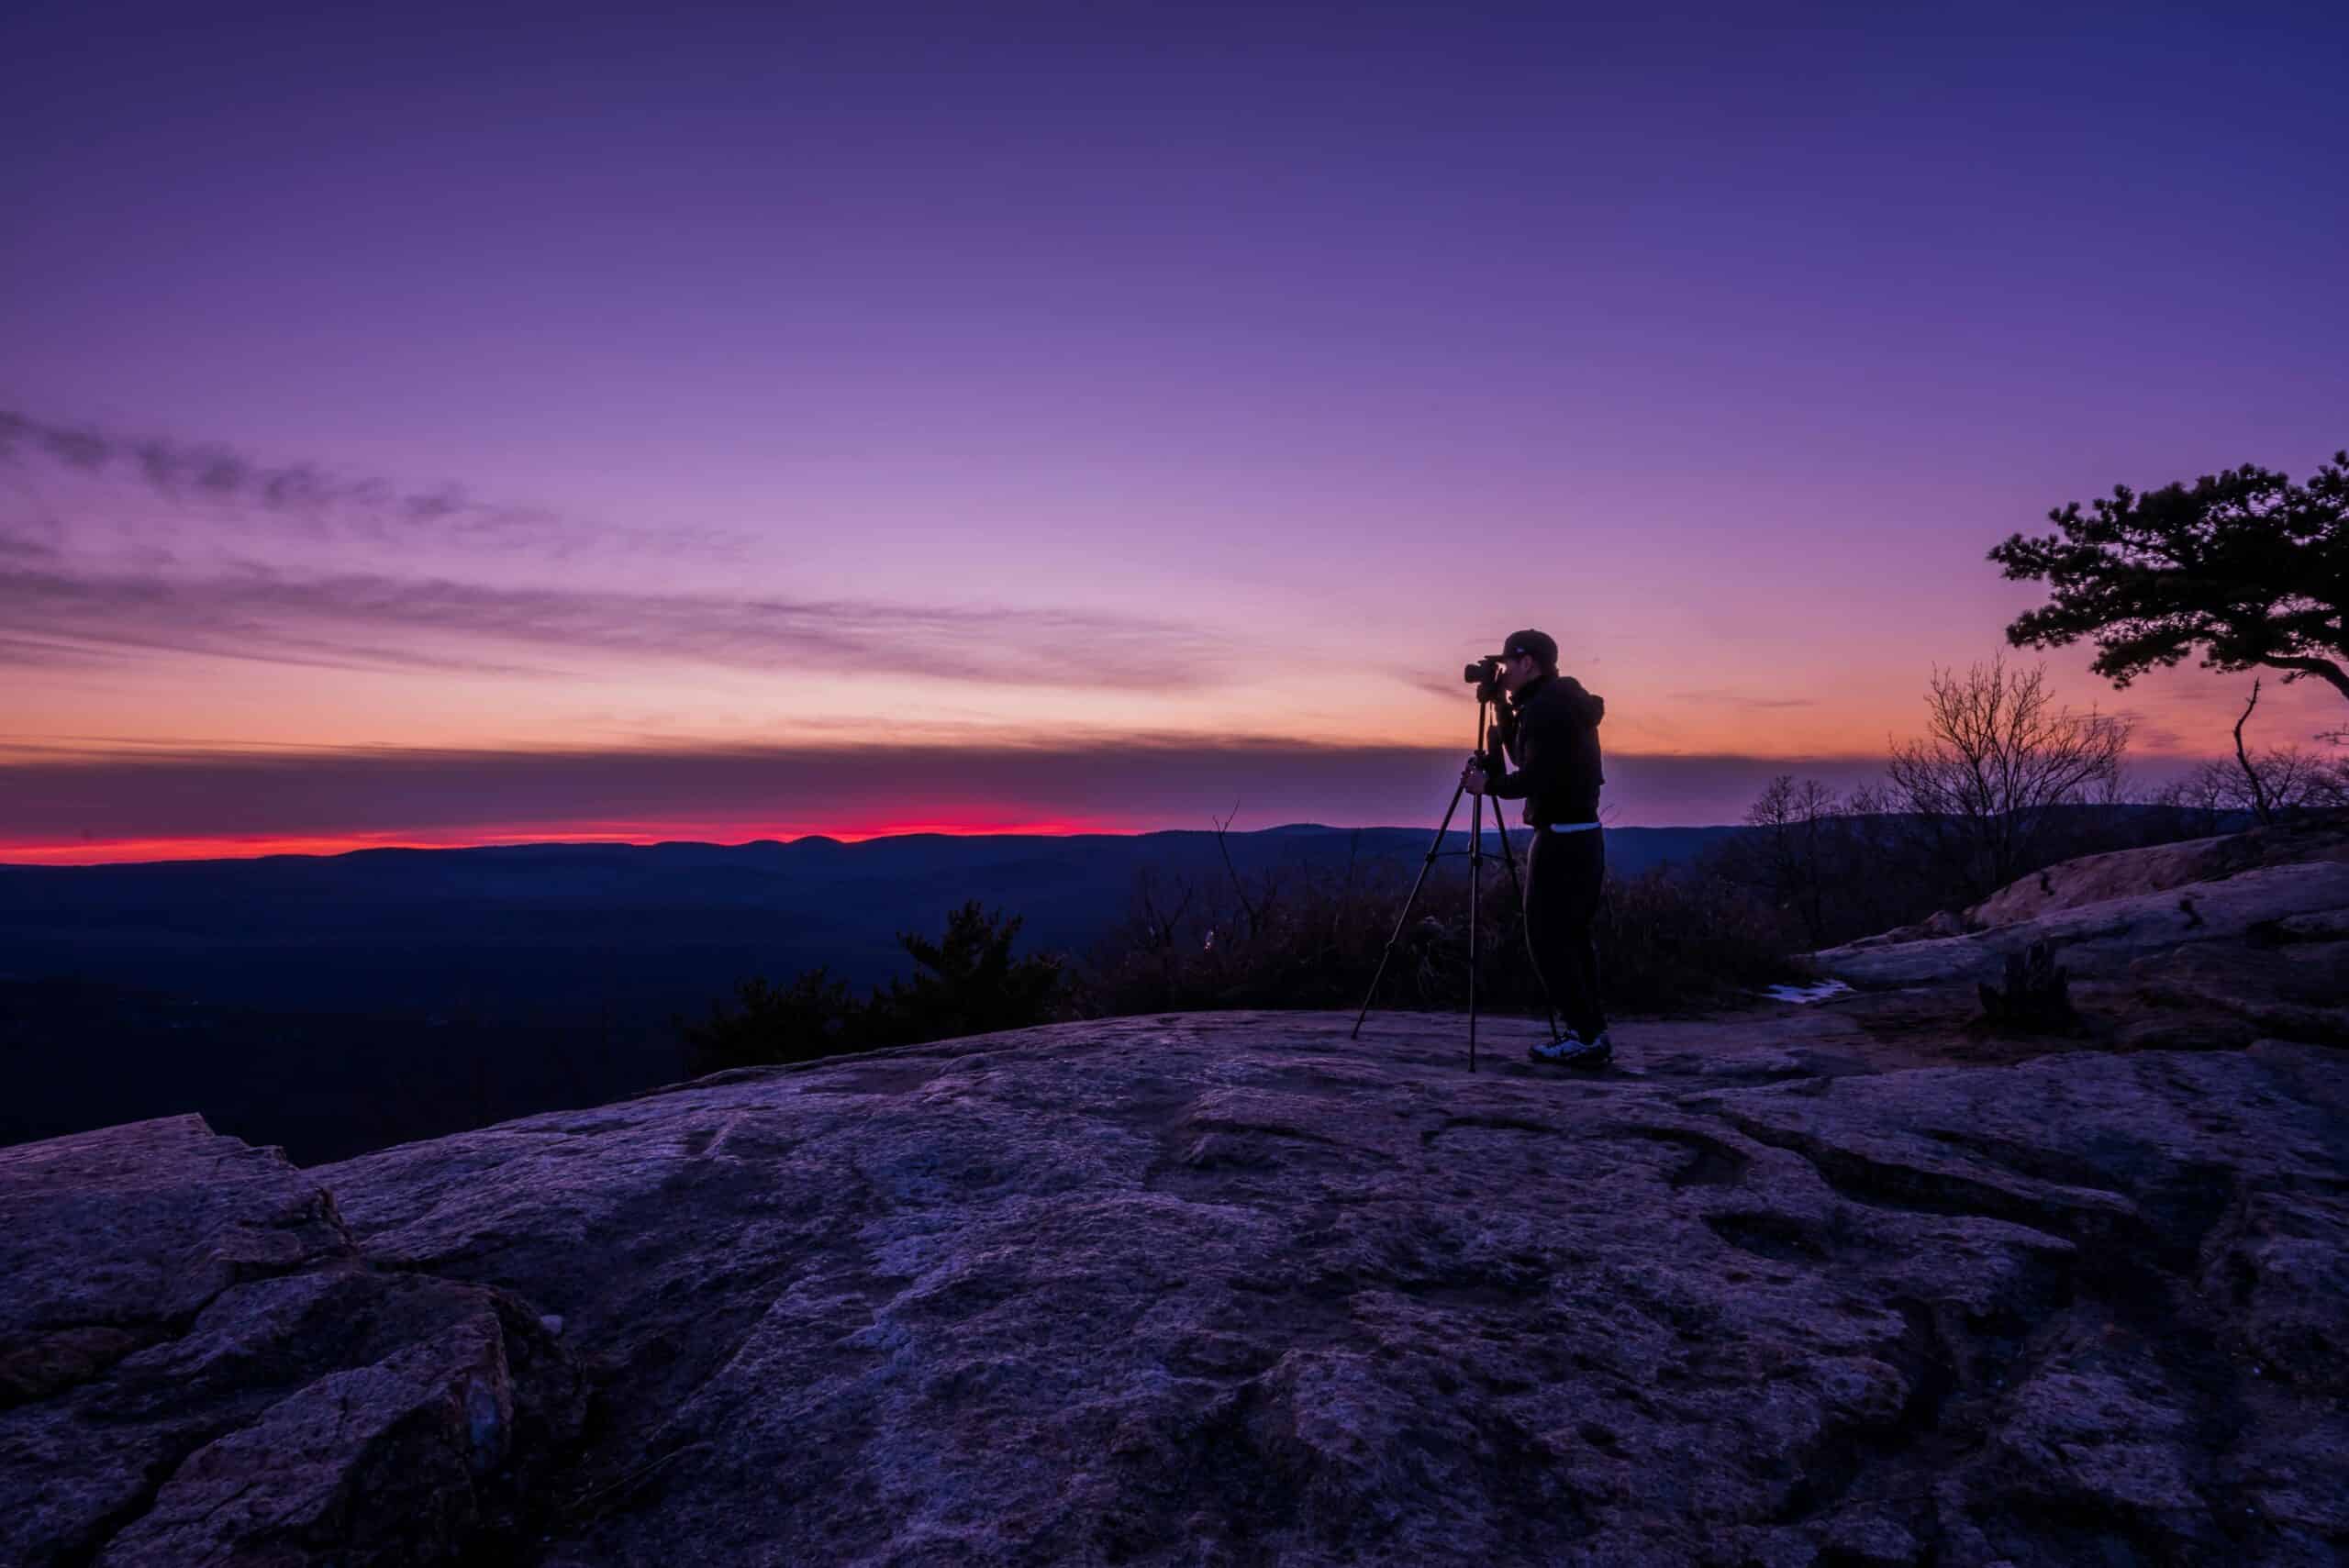
Shoot one exposure set just before sunset (golden hour) and another at blue hour for the city lights, then blend. Stay at ISO 100–200, f/8, and 1/4–1/30 s on a sturdy tripod. Rotate slowly and wait for wind lulls to avoid sway in foliage. If lens flare appears at 14mm when the sun is in frame, consider shading the lens briefly between brackets or shoot an extra frame with your hand shading the sun edge to mask in later.
Event Crowd in a Plaza
Use 14mm and aim for 1/200–1/250 s, ISO 400–800, f/5.6–f/8. Capture a fast alignment pass, then a second pass as crowds shift to patch over ghosting. Keep overlap at 35% to help your stitcher choose better control points on moving subjects.
Rooftop or Pole Shooting
Balance your rig carefully and tether it. Shorten the pole if wind rises. Favor faster shutter speeds (1/250 s) and reduce rows to the minimum necessary (e.g., 8 around + zenith + nadir) to limit time aloft. Safety first—never compromise securing the gear to “get the shot.”

For resolution planning vs. focal length and shot count, Panotools maintains an excellent primer that helps estimate final equirectangular dimensions. Spherical resolution vs. focal length and frames
About the Canon EOS RP and Nikon Z 14–24mm f/2.8 S Compatibility
There is no practical adapter to use Nikon Z lenses on Canon RF bodies with full electronic control and infinity focus. If your plan is specifically “how to shoot panorama with Canon EOS RP & Nikon Z 14–24mm f/2.8 S,” consider these paths:
- Use the Nikon Z 14–24 on a Nikon Z camera for the capture workflow in this guide.
- On EOS RP, choose an equivalent rectilinear ultra-wide (RF 14–35 f/4L, RF 15–30, EF 16–35 f/4L via EF–RF adapter). All nodal, overlap, and exposure guidance is unchanged.
Technique matters more than the badge on the lens. The rectilinear 14–24mm class behaves consistently across brands for panoramas.
For a broader DSLR/mirrorless 360 guide and lens/body pairing advice, this reference is helpful. DSLR/mirrorless 360 virtual tour FAQ and gear picks
Frequently Asked Questions
- Can I shoot handheld panoramas with the EOS RP?
Yes for simple single-row panos, but for full 360×180° work, a tripod and panoramic head are strongly recommended. Handheld introduces parallax and inconsistent rotation that complicates stitching.
- Is a 14–24mm rectilinear wide enough for a single-row 360?
No. Rectilinear 14mm still needs multiple rows to cover zenith and nadir. Expect three rows plus top and bottom shots for full spherical coverage at 14mm in portrait orientation.
- Do I need HDR for interiors with bright windows?
Often yes. Bracketing ±2 EV (3–5 frames) retains window detail without pushing ISO. Merge brackets per angle before stitching, or use PTGui’s built-in HDR workflow.
- How do I avoid parallax issues?
Align the lens’s entrance pupil over the rotator’s axis using a near/far object test and lock your rail marks for each focal length. Keep the camera level and avoid shifting the tripod between rows.
- What ISO range is safe on the EOS RP in low light?
ISO 100–400 is ideal; 800 is typically fine with careful exposure; 1600 is usable with solid noise reduction for web-sized outputs. Prefer bracketing over pushing ISO whenever the scene allows.
Further Learning
For a concise Q&A on panorama techniques and pitfalls, this community thread collects proven tips. Best techniques to take 360 panoramas (community answers)